

Before you start
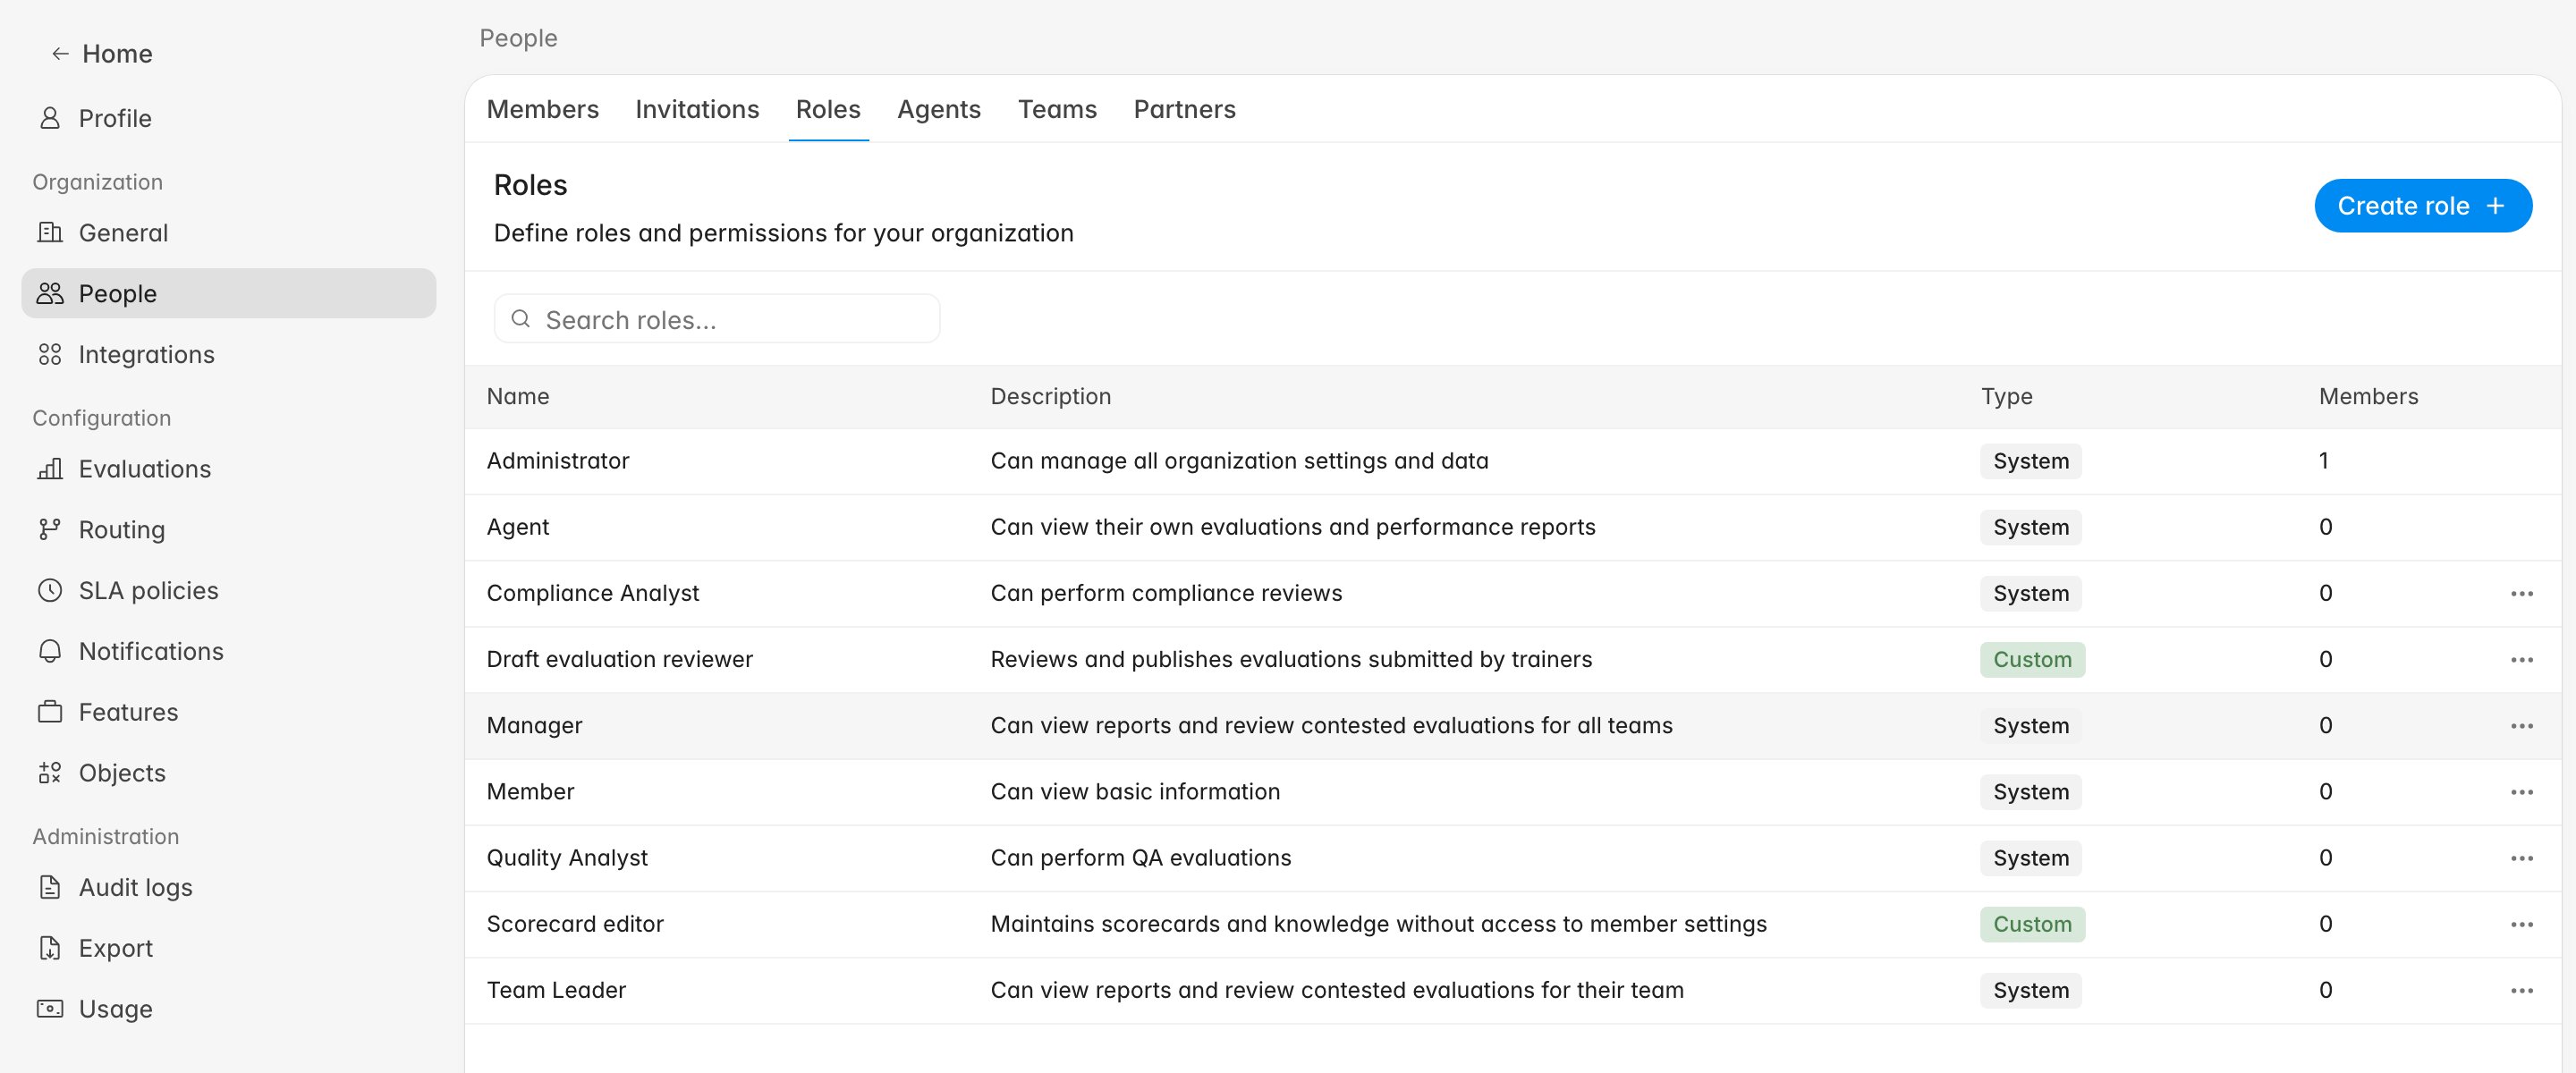
- Roles live on the Roles tab of Settings > People, alongside Members, Invitations, Agents, Teams, and Partners.
- You need the Manage members, assign roles, and create or edit roles permission to create, edit, clone, or delete roles. Without it, the management controls are hidden.
- A custom role needs a name and at least one permission. Rulebase blocks the save otherwise.
- For what each permission grants, keep Roles and permissions open in a second tab.
System roles and custom roles
The Type column tells you which kind of role you have and what you can do to it. System roles are Rulebase’s defaults, shared by every organization and read-only. Open one and the dialog showsSystem roles cannot be modified with
every field greyed out. Custom roles belong to your organization alone.
Most custom roles are a system role plus or minus one thing, so cloning Quality
Analyst and unchecking a box beats building a permission set from scratch.
Create a custom role
- Go to Settings > People > Roles.
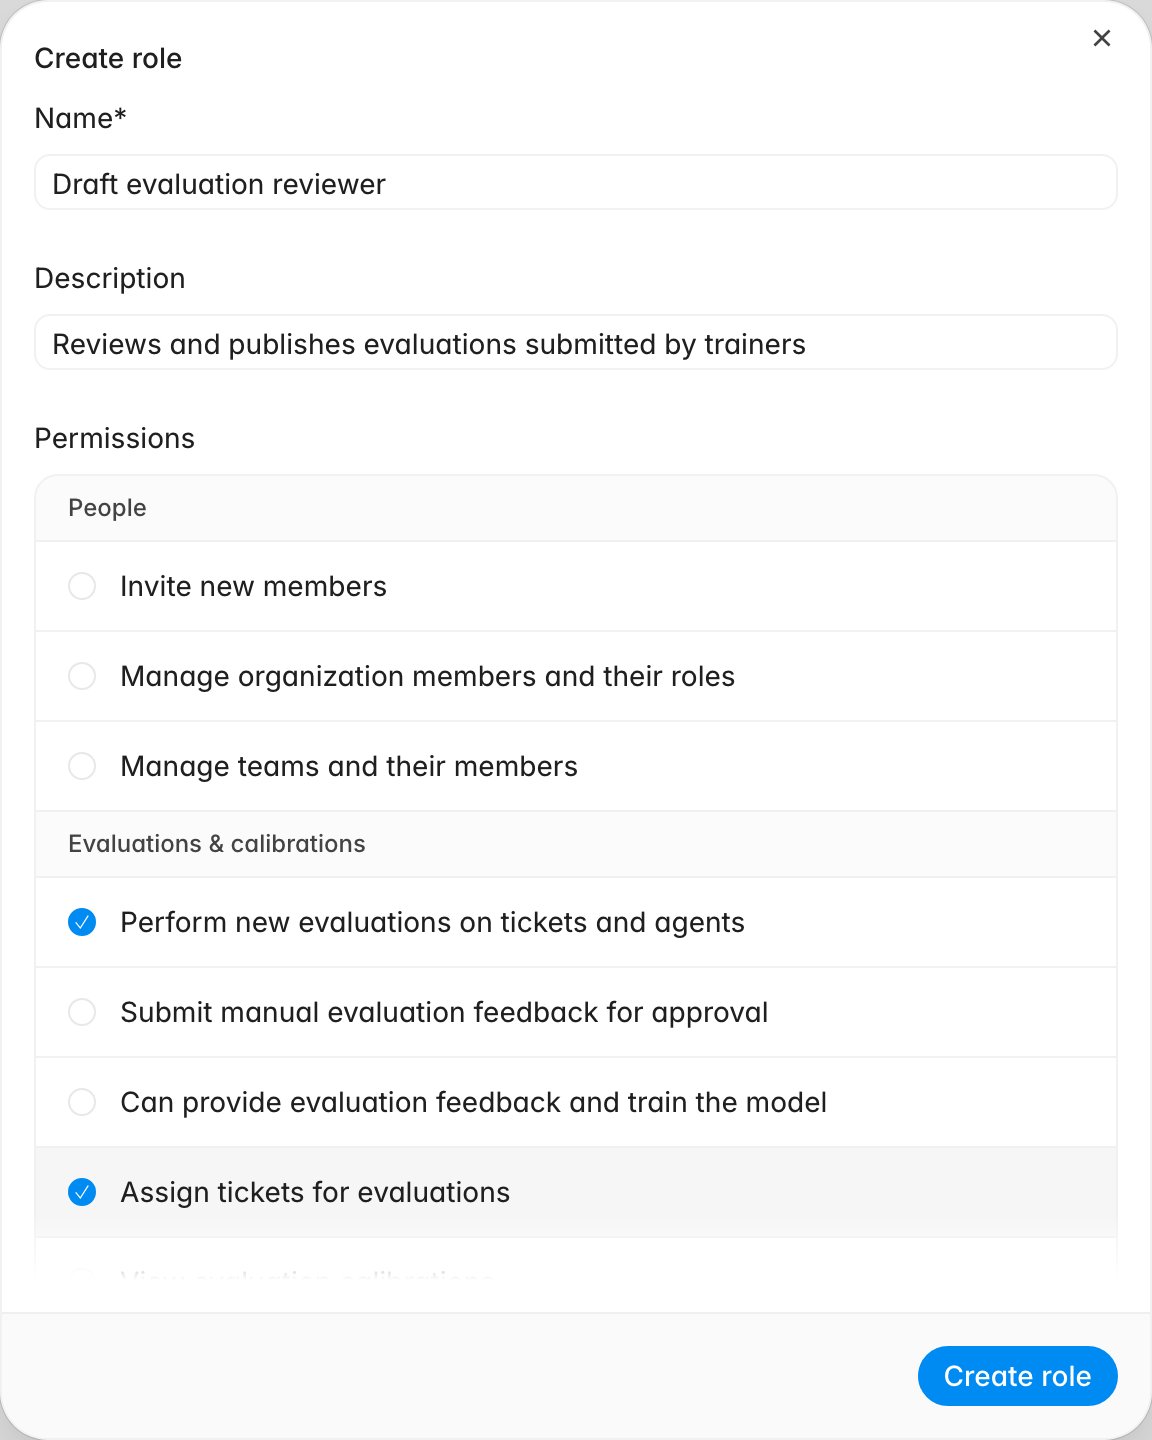
- Click Create role.
- Enter a Name, like
Evaluation validatororScorecard editor. This is what people pick from when assigning roles later. - Add a Description. Optional, but it becomes the Description column and the only hint colleagues get about why the role exists.
- Under Permissions, check what the role should be able to do.
- Click Create role.
Choose permissions deliberately
The Permissions checklist is grouped by area:- People: inviting members, managing members and roles, managing teams, and managing the agent roster. Grant only to people who should be able to change who has access or who gets evaluated.
- Evaluations & calibrations: evaluating conversations, marking conversations Done, submitting manual evaluations for approval, approving submissions and training the AI with feedback, deleting evaluations, assigning conversations for review, and viewing calibrations.
- Scorecards & knowledge: maintaining scorecards, compliance rules, complaint categories, and knowledge base content.
- Insights: organization-wide reports and analytics, viewing the agent
roster, viewing AI evaluations on every conversation, and setting performance
targets. The AI evaluations permission is the only one separating the
Quality AnalystandCompliance Analystsystem roles. - Settings & integrations: organization settings, connections to systems like Zendesk and Intercom, and API keys.
- Workflows: viewing, running, and building AI workflows.
- Instruct: reading and using Instruct chat.
The Workflows permission group refers to the AI workflows you build under
Home > Agents. For the support agents on
your roster, visibility comes from View the agent roster in the Insights
group and editing comes from Manage the agent roster in People.
Assign the role to people
Assignment happens on a different tab, Settings > People > Members. Two ways to apply it:- One person: click their row to open Edit membership, choose the role from the Role dropdown, and click Save changes.
- A group: select their row checkboxes, click Update role in the floating action bar, then pick the role once and apply it to everyone selected.
Edit, clone, and delete roles
Management happens from the roles table. Clicking a row opens the role for editing; the overflow menu at the end of each row holds Clone and Delete.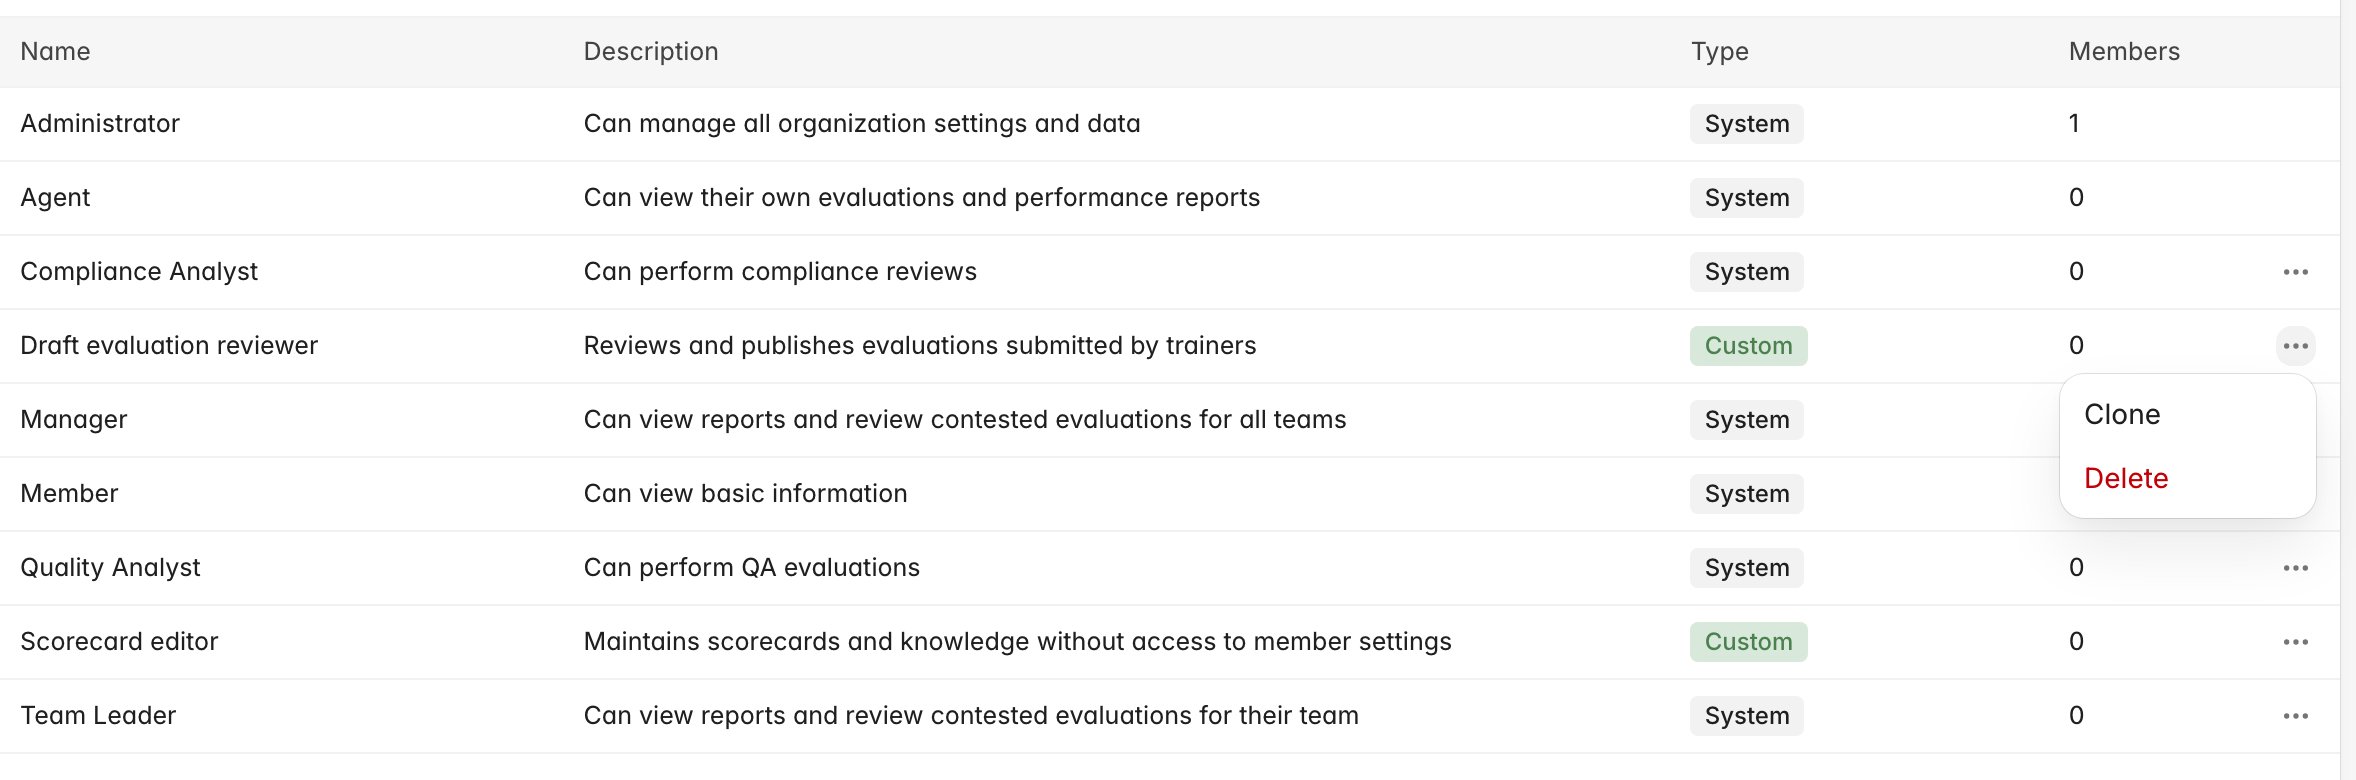
Edit a role
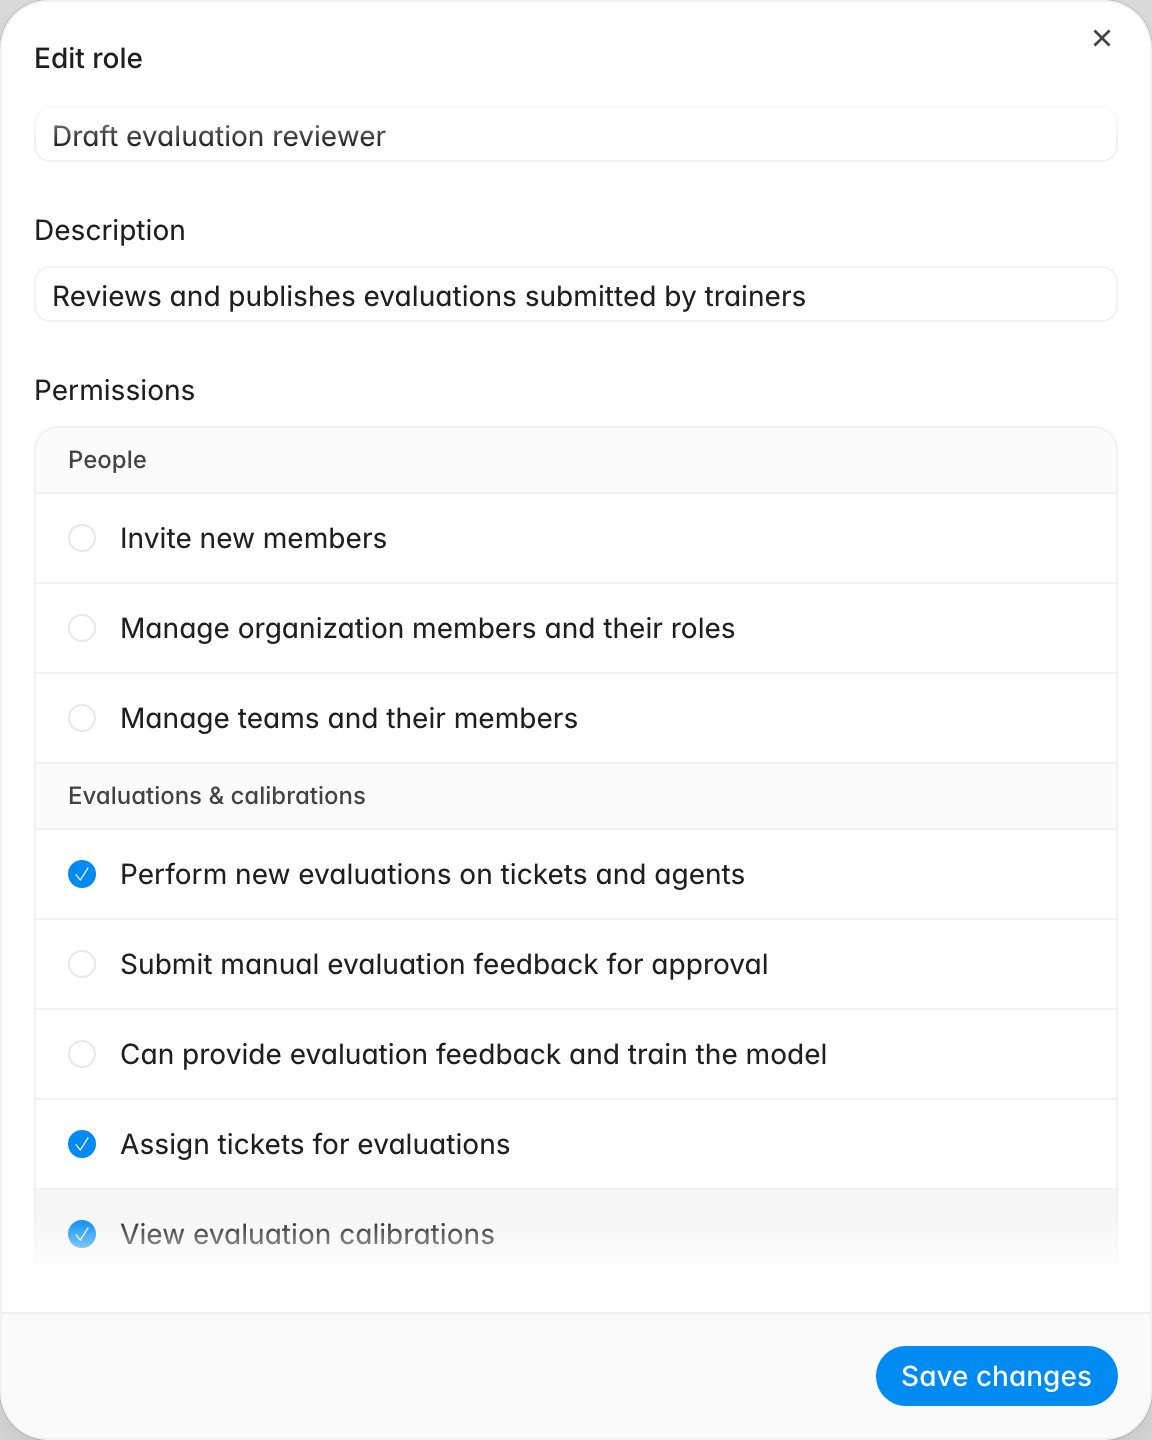
- Click the role’s row to open Edit role.
- Change the Name, Description, or any permission checkbox.
- Click Save changes.
Clone a role
Open the overflow menu on the role to copy and choose Clone. The Create role dialog opens prefilled with the original’s permissions and a name ending in(Copy). Rename it, adjust the checkboxes, and save; the original is untouched.
This is the fastest way to build a variant of a system role, which cannot be edited
directly.
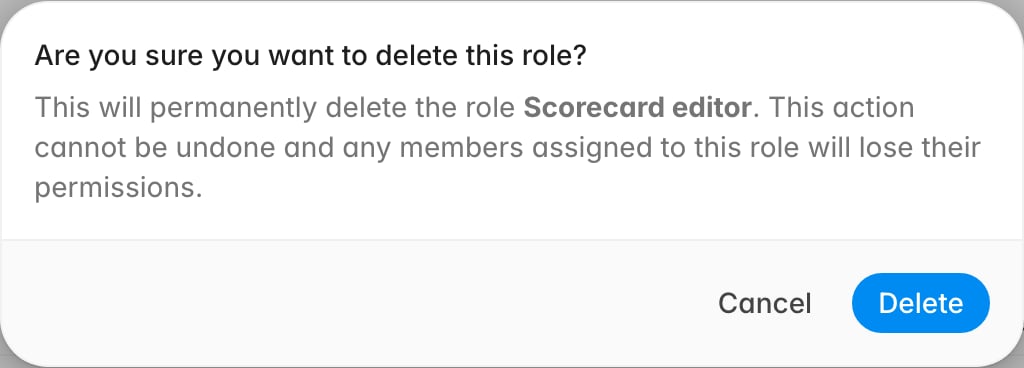
Delete a role
- Open the overflow menu on a custom role.
- Click Delete.
- Read the confirmation, then click Delete.
Confirm the role does what you intended
Before handing a new role to a group:- The Type column shows Custom.
- The description reads like something someone else could act on.
- Reopening the role shows exactly the permissions you meant to grant.
- The Members count matches the number you assigned.
- A holder can reach the screens they need. If something is missing, the permission that covers it is named in Roles and permissions.