

Before you start
- Both cards live under Settings > Evaluations, below Eligibility and Timing in the Configuration part of the settings sidebar.
- You need an admin role. Without it the fields render but stay disabled.
- Look at where your scores currently sit before you move a threshold; team and agent scores live under Insights. Otherwise a whole team can end up in one colour.
Decide where the bands sit
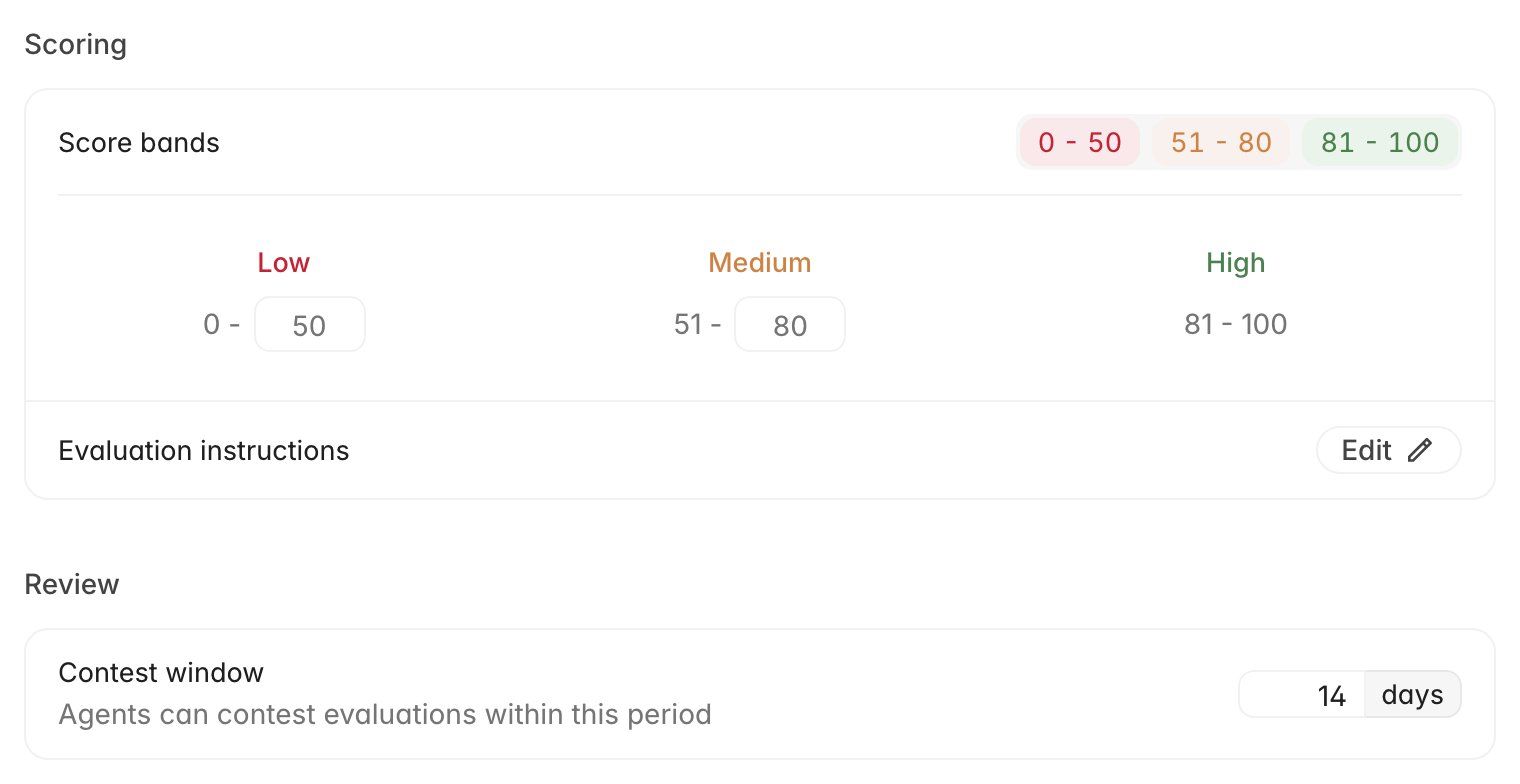
Rulebase ships with 0-50 Low, 51-80 Medium, 81-100 High. Those defaults treat a score in the fifties as a real problem, which suits teams whose scorecards fail tickets readily. If most of your criteria are pass/fail and a single miss costs 25 points, the same thresholds will file competent work as Medium and your routing will send far more tickets for review than you intended. You set two numbers and Rulebase derives the third.- Under Scoring, click the three coloured badges next to Score bands. The editor expands underneath.
- Set the Low maximum. Every score from 0 up to and including this number is Low.
- Set the Medium maximum. Medium starts one point above the Low ceiling.
- Click outside the field. There is no save button; the change is stored when the field loses focus, and High redraws as everything above your Medium ceiling.
Each evaluation records its band at the moment it is scored. Filters and
calibration sampling read that recorded band, so moving a threshold changes
which band new evaluations land in without re-filing the ones you already have.
Set the bands before you turn on automatic QA, and treat later changes as a
before-and-after in your reporting rather than a retroactive correction.
Where the bands are used
Routing rules. The QA score and Agent QA score conditions offer exactly Low, Medium, High, and Autozero. A rule that sends low-scoring tickets to a reviewer is really a rule about your Low ceiling, so raising that ceiling quietly widens the rule’s reach. See Create routing rules. Calibration sampling. When you build a calibration you can filter the pool by Agent QA score level, which is how you run a session on the tickets your scorecard was harshest about. Run a calibration covers the rest of that flow. How scores are presented. A ticket’s QA workspace colours its score by band, and dashboard charts that break QA results down into High, Medium, and Low draw their groupings from the same two numbers. A generous Low ceiling makes a lot of competent work look like a problem in every chart you show the team. The colour on a ticket is worked out from your current thresholds, while filters and calibration sampling use the band recorded when the evaluation was scored. Right after you move a threshold, a ticket can look Medium on screen and still answer to a Low filter.Write instructions that apply to every evaluation
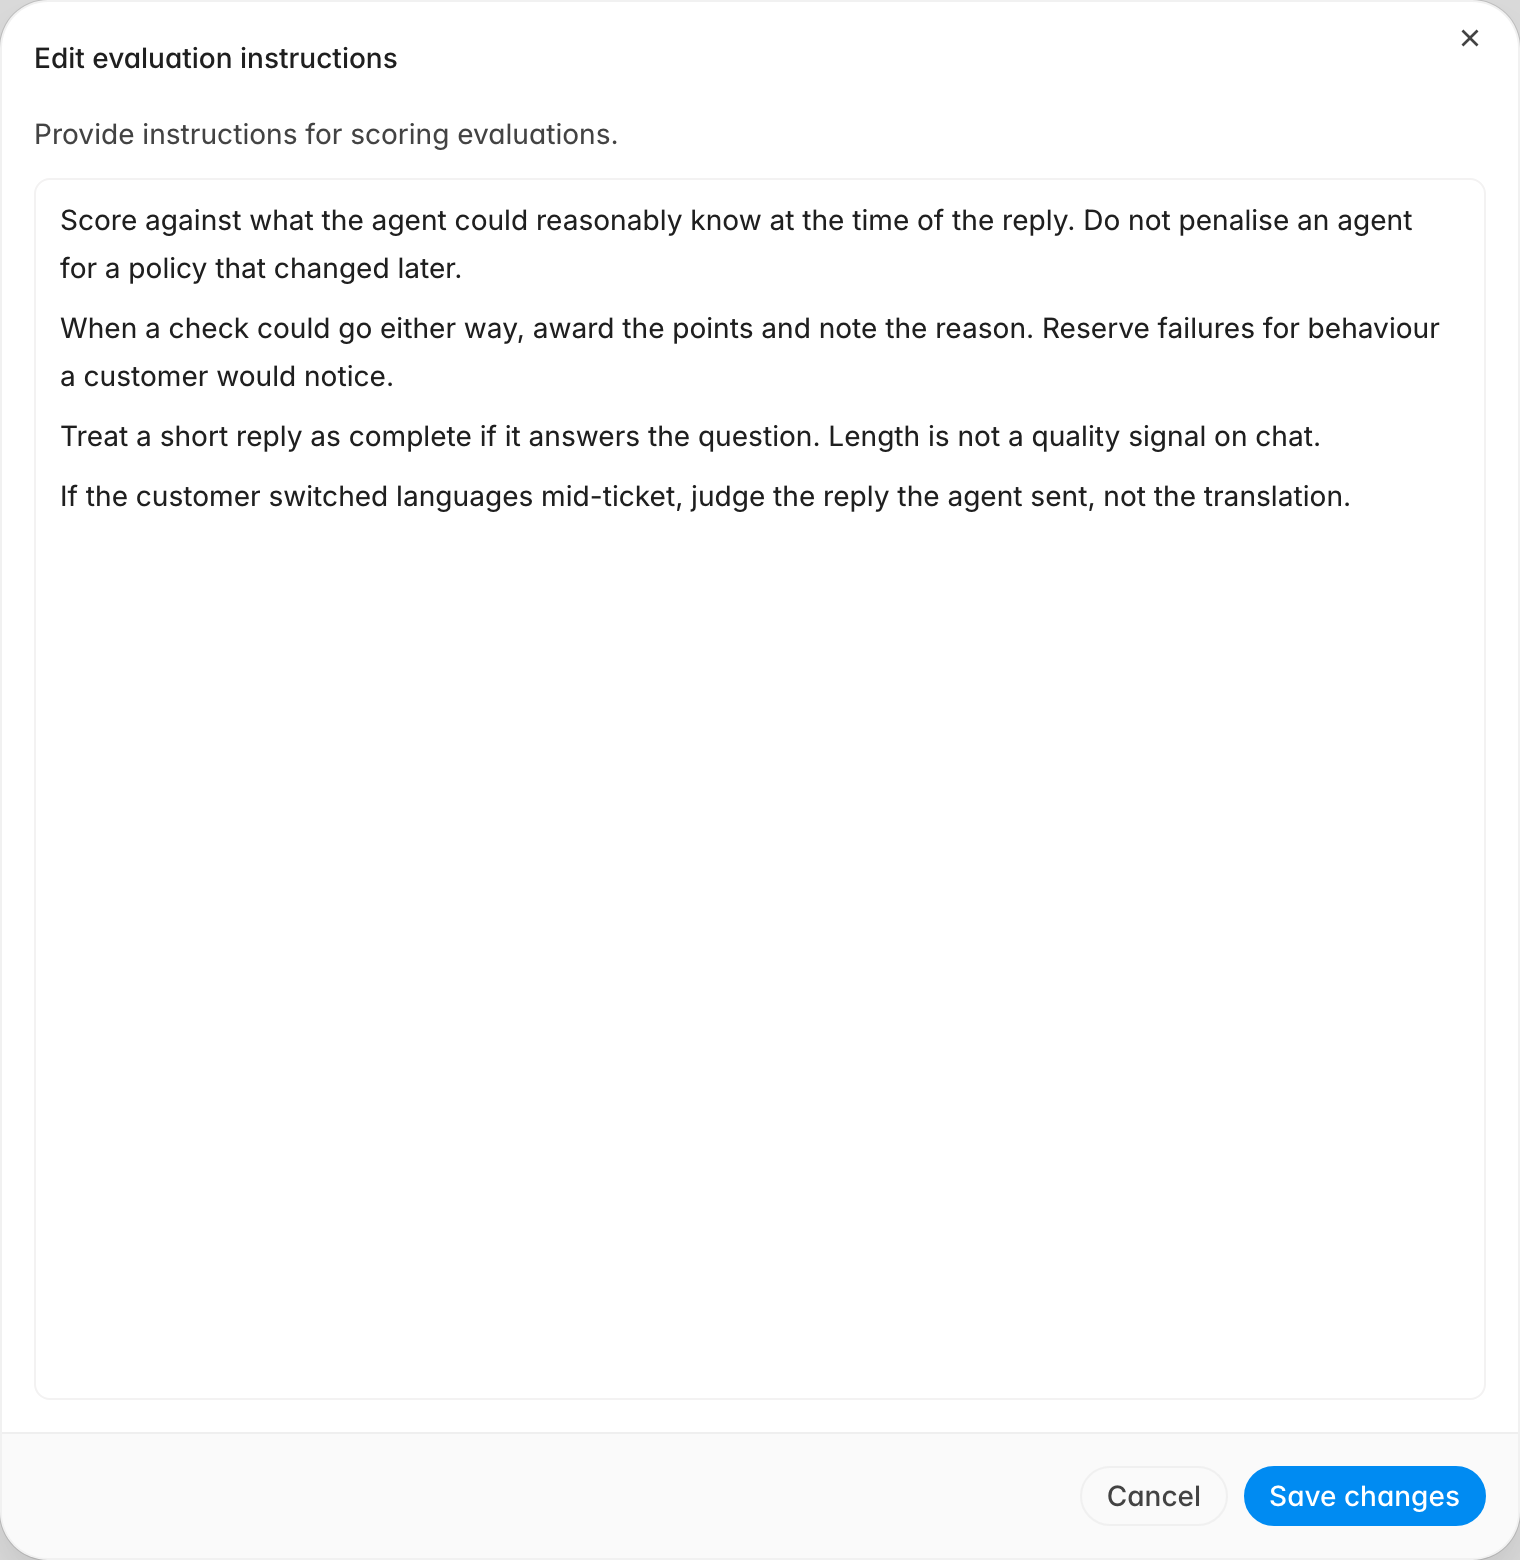
The Evaluation instructions row sits under the same Scoring card. It is broader than the per-check instructions on a scorecard: whatever you write here is handed to the AI evaluator on every evaluation it runs, whatever scorecard applies, including the re-scores triggered by criterion feedback. It does not change the scorecard’s structure or points; it changes how the criteria are interpreted.- Next to Evaluation instructions, click Edit.
- Write your rules in the editor. Markdown works, and one rule per paragraph is easier to revise later than a single dense block.
- Click Save changes.
Open the contest window
An agent who disagrees with a score can dispute it, and the Contest window decides for how long. The clock starts at the evaluation date, not the ticket’s close date, which matters when your evaluation delay is long or a backlog was scored weeks after the fact.- Under Review, click Add window.
- Set the number of days. Anything from 1 to 365 is accepted, and 30 is the starting value.
- Click outside the field to save.
Cap contests per ticket
Under the contest window sits Max contests per ticket — how many times the same agent can dispute the same ticket. Every organization starts at 3. Set any value from 1 to 100; blur the field to save. Once an agent hits the cap, the contest button stays disabled and the API rejects further contests for that ticket, even after earlier disputes are resolved.What an agent can and cannot contest
The window is one of five gates:- An agent can only contest their own evaluation, and only the one currently in effect for that ticket. A superseded evaluation is read-only.
- The evaluation must have at least one failed check.
- One open dispute per agent per ticket. The next one waits until the first is resolved.
- The agent has not reached the max contests per ticket for that interaction.
- The evaluation must be inside the contest window. Past the deadline, the button stays visible but disabled, and the tooltip names the window length so the agent can see what they missed.