

401 Unauthorized as a mistyped one,
so the error message won’t tell you which mistake you made.
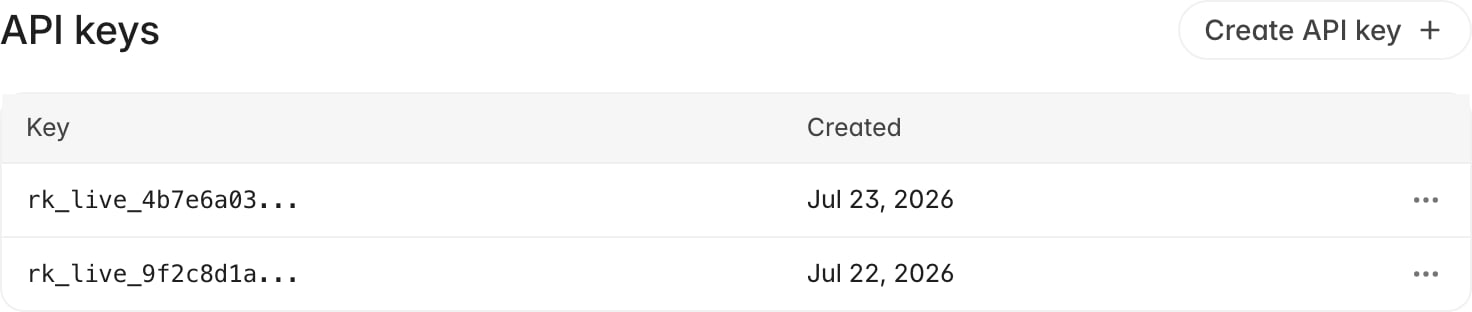
Before you start
- You need permission to manage integrations. Admin roles have it; if the Create API key button is greyed out, that’s what’s missing.
- Know which region your organization is on; the next section explains how to tell.
- Have somewhere to put the key before you create it. A secrets manager or your deployment platform’s environment variables are both fine. A chat message is not, and you only get one chance to copy it.
Create a key
API keys live on the API keys tab in Connections settings.- Go to Settings > Connections.
- Open the API keys tab.
- Click Create API key.
- Copy the key from the API key created dialog, using the copy button next to it.
- Paste it into your secret store, then click Done.
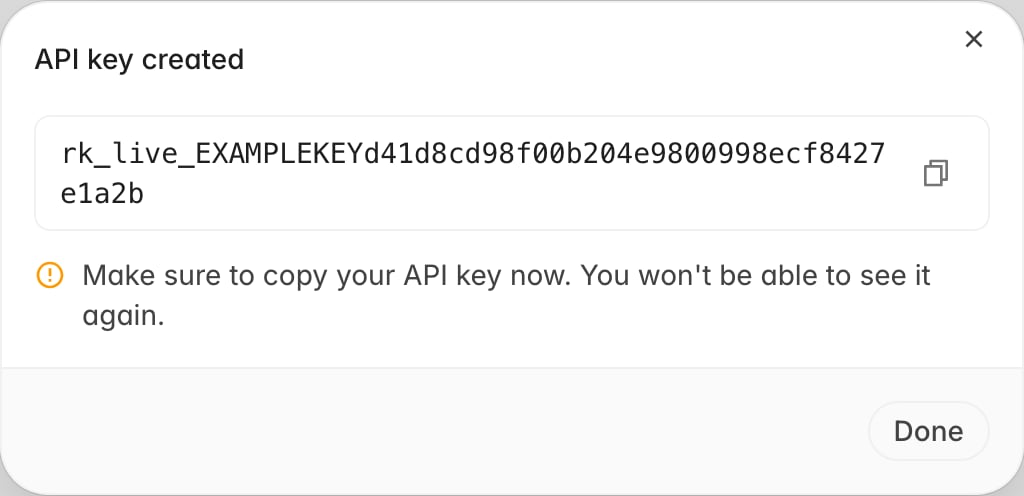
The dialog is the only place the full key is ever shown. Once you close it,
Rulebase can’t display the key again, and there is no “reveal” action on the
list. If you lose a key, create a new one and revoke the old one.
rk_live_. Back on the list, each row shows only the
first 16 characters followed by an ellipsis, which is enough to tell your keys
apart when you come back to revoke one, and not enough to authenticate with.
Find your region’s base URL
Your region is the one you sign in to. If you log in atapp.rulebase.co you’re
on US; if you log in at eu.app.rulebase.co you’re on EU. There’s no region
setting to look up, and no way to change it yourself.
Rulebase exposes one public API host per region:
Every public endpoint is versioned under
/v1. Existing integrations that use
deprecated aliases continue to work during their sunset period, and those
responses include Deprecation, Sunset, and successor Link headers. Use the
canonical /v1 path for new integrations and whenever you update an existing
one.
Send your first request
Authenticate by putting the key in anAuthorization: Bearer header. Listing
conversation uploads is a good first call because it only reads, so you can run
it against a live organization without changing anything:
200 with an envelope, even when your organization hasn’t
uploaded anything yet:
401 with this body in either
region:
401, check these three things:
- The host. If you sign in at
eu.app.rulebase.co, confirm you’re callingeu.api.rulebase.coand notapi.rulebase.co. Rule this out first, because nothing in the response hints at it. - The header. The value is the word
Bearer, a space, then the key. A trailing newline from a shell variable is enough to break it. - The key itself. Check the first 16 characters against the list in Settings > Connections. If the row isn’t there, the key was revoked.
What a key carries
Every key has the same properties:- Organization-wide access. A key authenticates as your organization, not as the person who created it. Requests made with it aren’t attributed to you and aren’t limited by your role.
- No per-key scopes. There are no read-only keys, no per-endpoint permissions, and no IP restrictions. Every key can reach every endpoint that accepts API-key authentication.
- Tied to one region. Each region keeps its own key store, so a key created in the EU app authenticates only against EU hosts.
- No expiry. A key stays valid until someone revokes it.
Revoke a key
Revoking is a delete. There’s no disable-and-re-enable, so only do this once you’re sure the key is out of service or you know it’s leaked.- Go to Settings > Connections and find the key in the API keys list, matching on its prefix.
- Open the overflow menu at the end of its row.
- Click Delete.
- Confirm with Delete in the dialog.
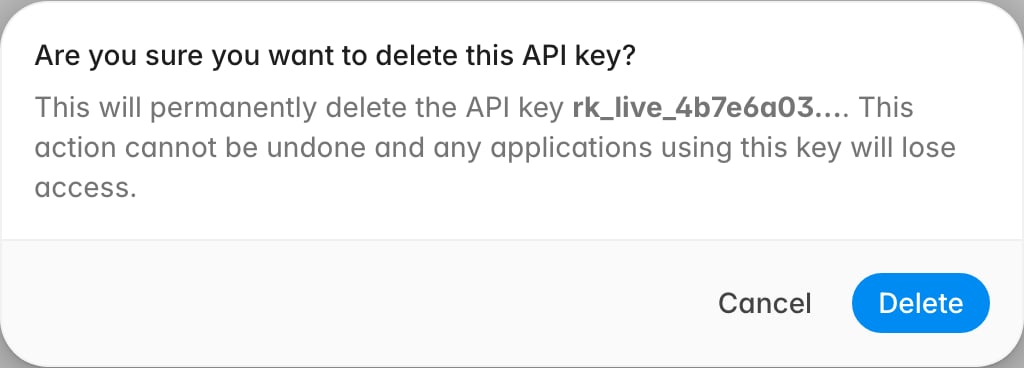
401 Unauthorized. Rulebase keeps the data that was uploaded with the
key; only the credential goes away. To rotate rather than retire an integration,
create the replacement key and deploy it first, then come back and delete the
old one.