

The Scope field on invitations and memberships only appears once you have set
a Partner custom field on this page. Creating partners by hand does not
unlock it, so if you are here to restrict what an outsourced reviewer can see,
do the Configure step below even if you intend to assign people manually.
Before you start
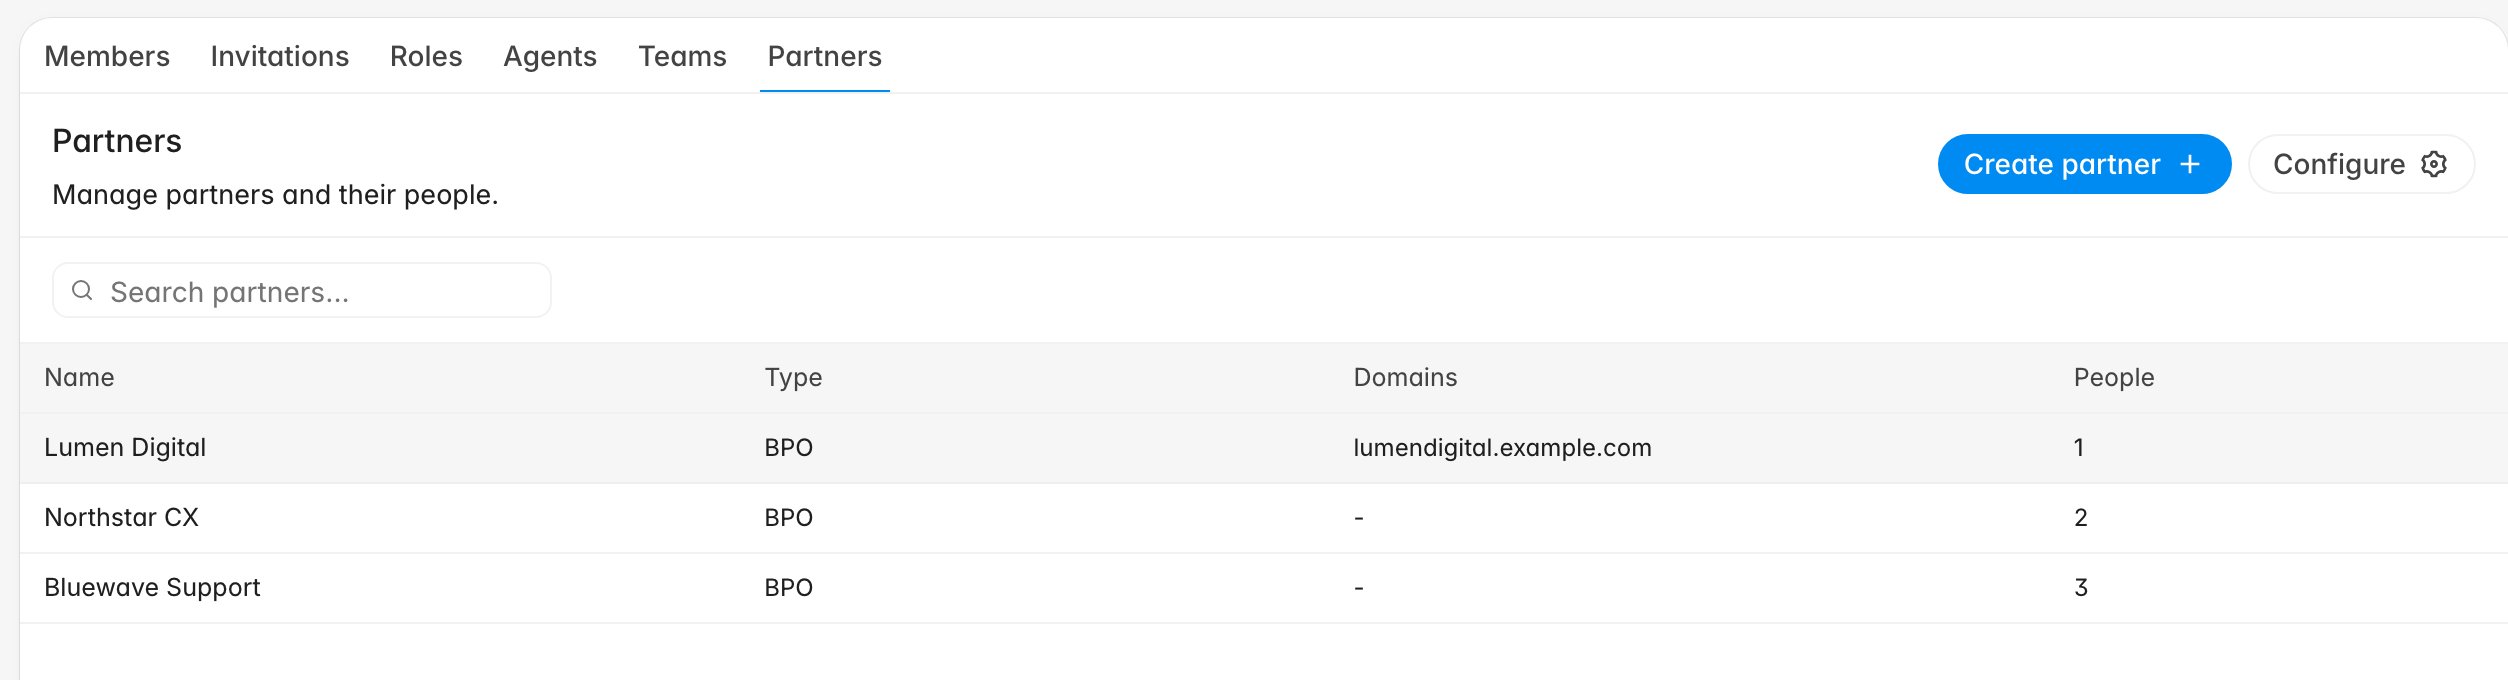
- Partners live on the Partners tab of Settings > People, beside Members, Invitations, Agents, Teams, and Roles.
- You need an admin role. Without it the tab is read-only: no Create partner, no Configure, no way to add or remove people.
- For automatic assignment, you need a dropdown custom field on your people whose options are the partner names. Only dropdown fields work; a text, number, date, or yes/no field is offered in the picker, saves without complaint, and then never files anyone.
Create a partner
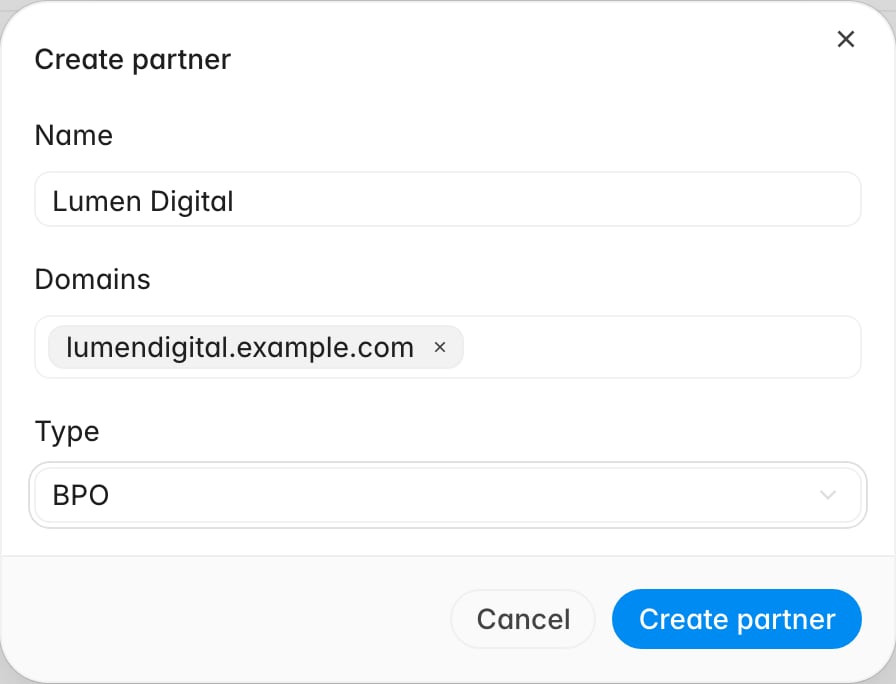
- Click Create partner.
- Enter the Name. This is what appears in filters, routing rule conditions, and dashboard breakdowns, so use the name your team says out loud.
- Optionally add Domains: type a domain and press Enter for each one. They are recorded against the partner and shown in the list; they are a label for your own reference rather than an access rule.
- Choose the Type. The options depend on your organization’s own type, so a fintech is offered Sponsor bank, BPO, and Other, while other organizations see the full set.
- Click Create partner.
Let the roster maintain itself
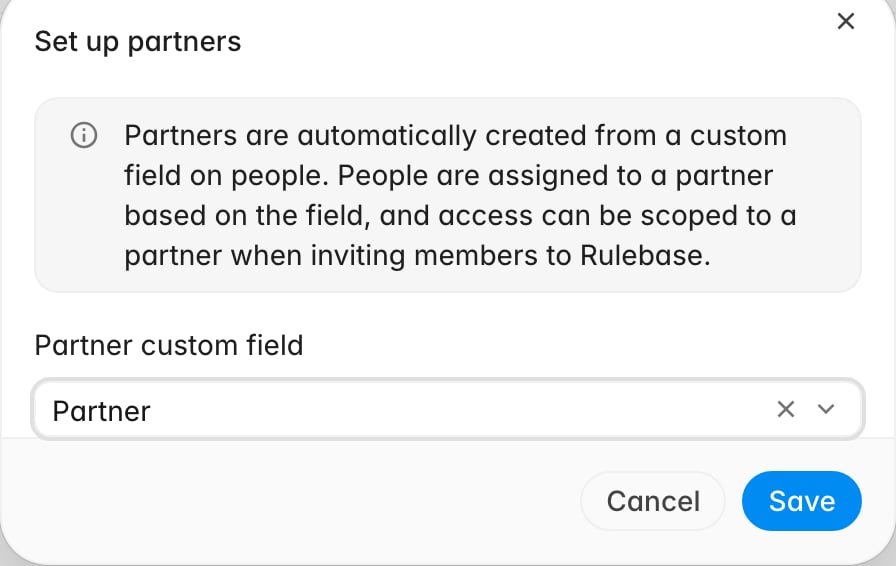
To keep assignments current as an outsourcer’s headcount changes, point Rulebase at a field instead of assigning agents by hand.- Click Configure.
- Under Partner custom field, search for the dropdown field on your people that names their partner and select it. Fields synced from a help desk are listed with their source in brackets, so a Zendesk dropdown works here as readily as one you created yourself.
- Click Save.
Add and remove people by hand
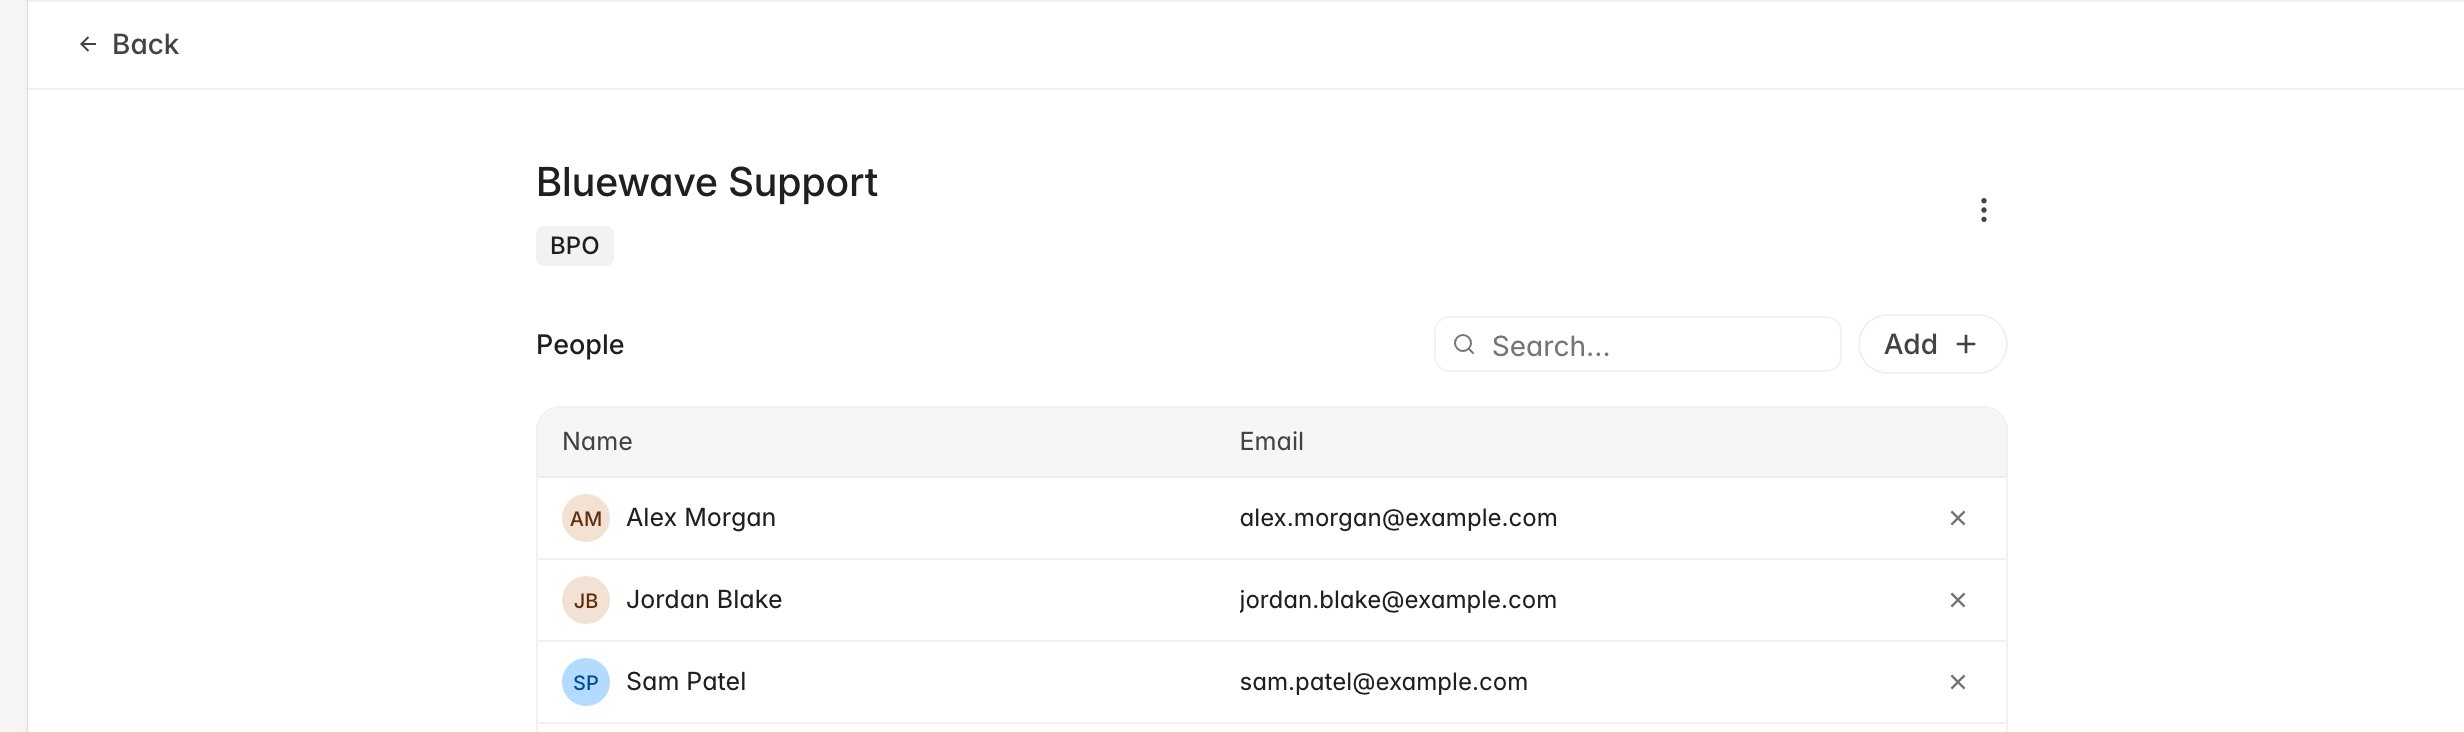
Manual assignment works alongside the field, and it is the quicker path for a handful of people.- Open the partner.
- Under People, click Add.
- Search for the person and select them. They are added immediately.
- To take someone out, click the × at the end of their row.
Scope a member to their partner
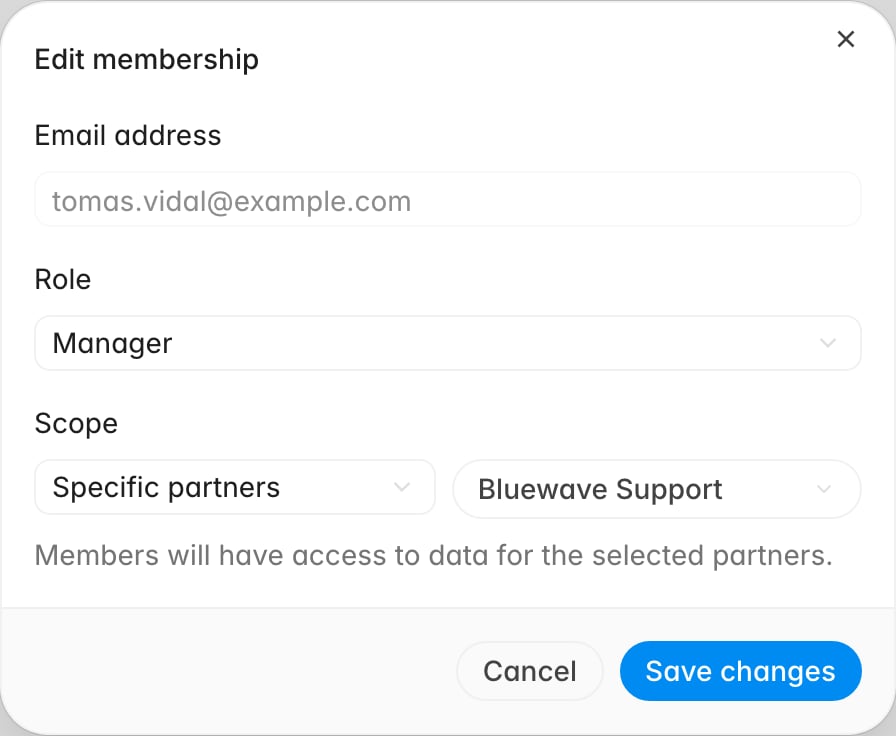
Once a partner custom field is configured, Specific partners becomes one of the scope choices for new invitations and for people who already have access. Invite members covers the invite dialog. For someone who is already a member:- Open the Members tab of Settings > People.
- Click their row to open Edit membership.
- Set Scope to Specific partners, then pick the partners they should reach. Entire organization, Specific groups, and Specific teams are the alternatives.
- Click Save changes.
- Agents belonging to those partners
- Teams those partners’ agents sit in
- Tickets where one of those partners worked
- QA evaluations whose scored agent belongs to those partners
Deleting a partner unassigns its people and drops it from any membership scoped
to it. A member scoped only to that partner is left scoped to nothing, which means
an empty Rulebase rather than an error message. Re-scope those memberships in the
same sitting.