

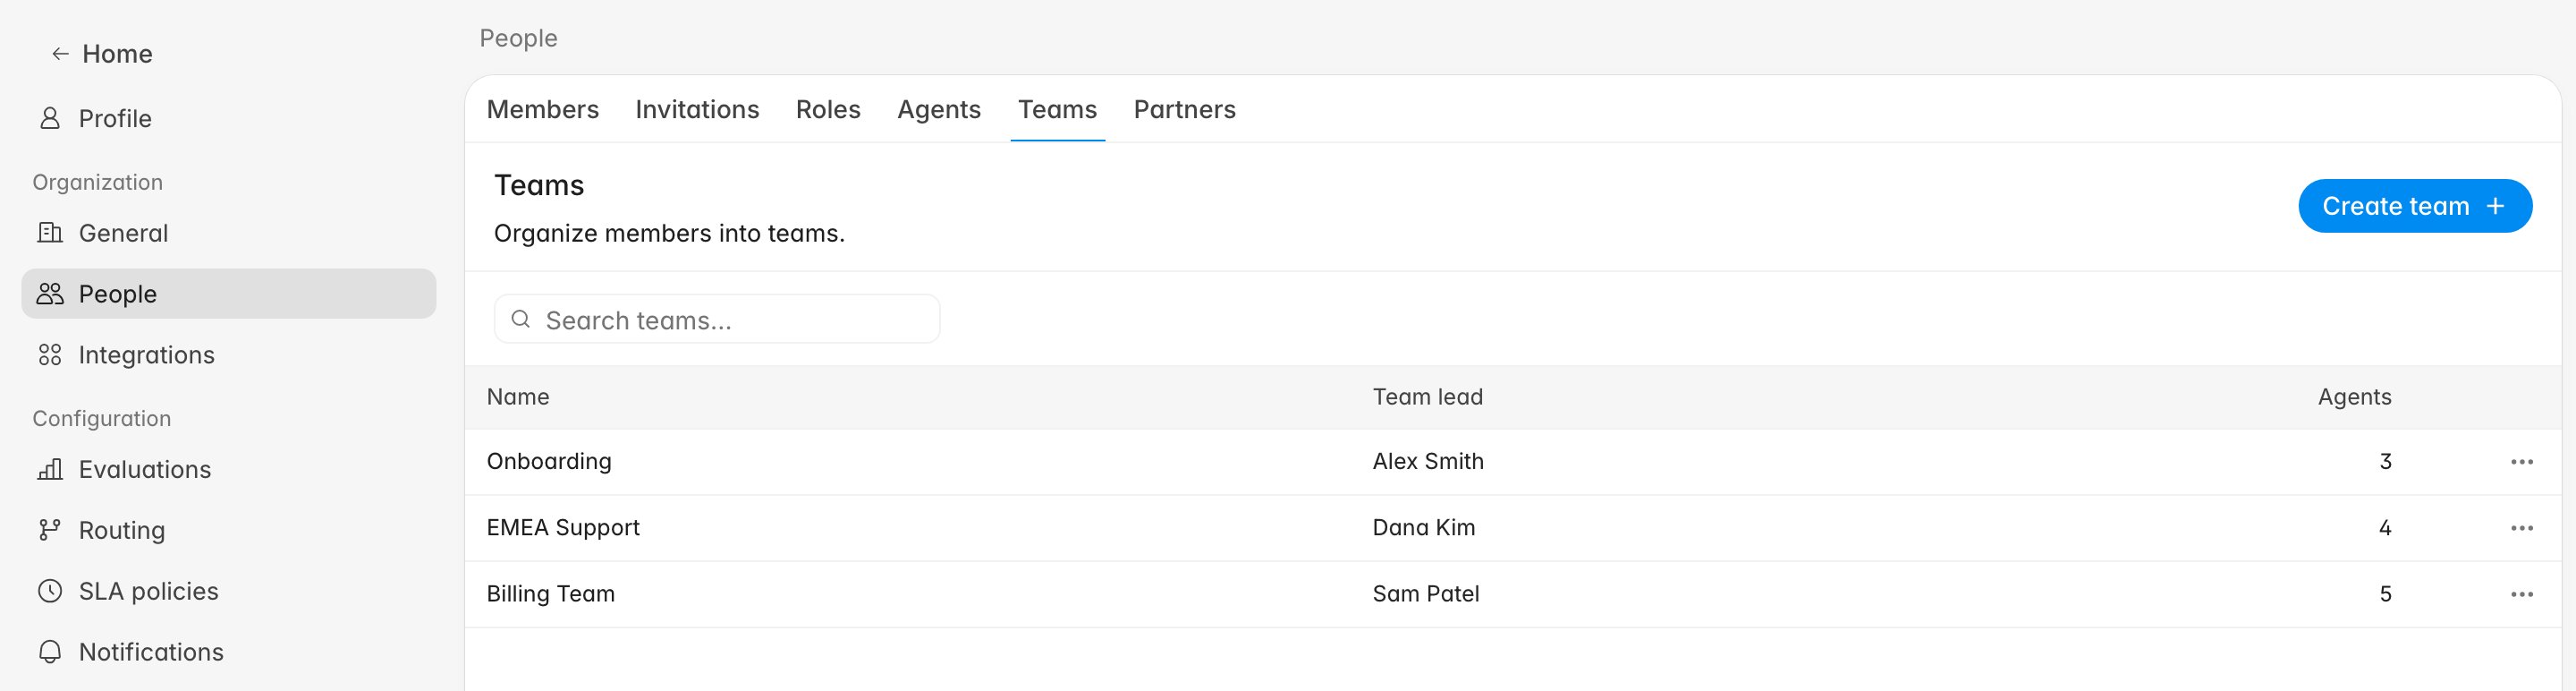
Before you start
- You need the Manage teams and their members permission, which
Administrator,Manager, andTeam Leaderhold. It covers creating, renaming, and deleting a team, assigning a lead, and importing agents from CSV. See Roles and permissions. - Teams live at Settings > People > Teams.
- Agents must already exist in Rulebase. If they haven’t been added yet, invite them or import them through the Agents page first.
Create a team
- Go to Settings > People > Teams.
- Click Create team.
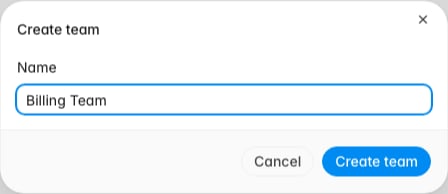
- Enter a Name your organization will recognize in reports and
filters, like
Billing TeamorEMEA Support. - Click Create team.
Set up the team detail page
Click a team name to open its detail page. This is where you do the day-to-day management: assigning a lead, adding agents, and reviewing who’s on the roster.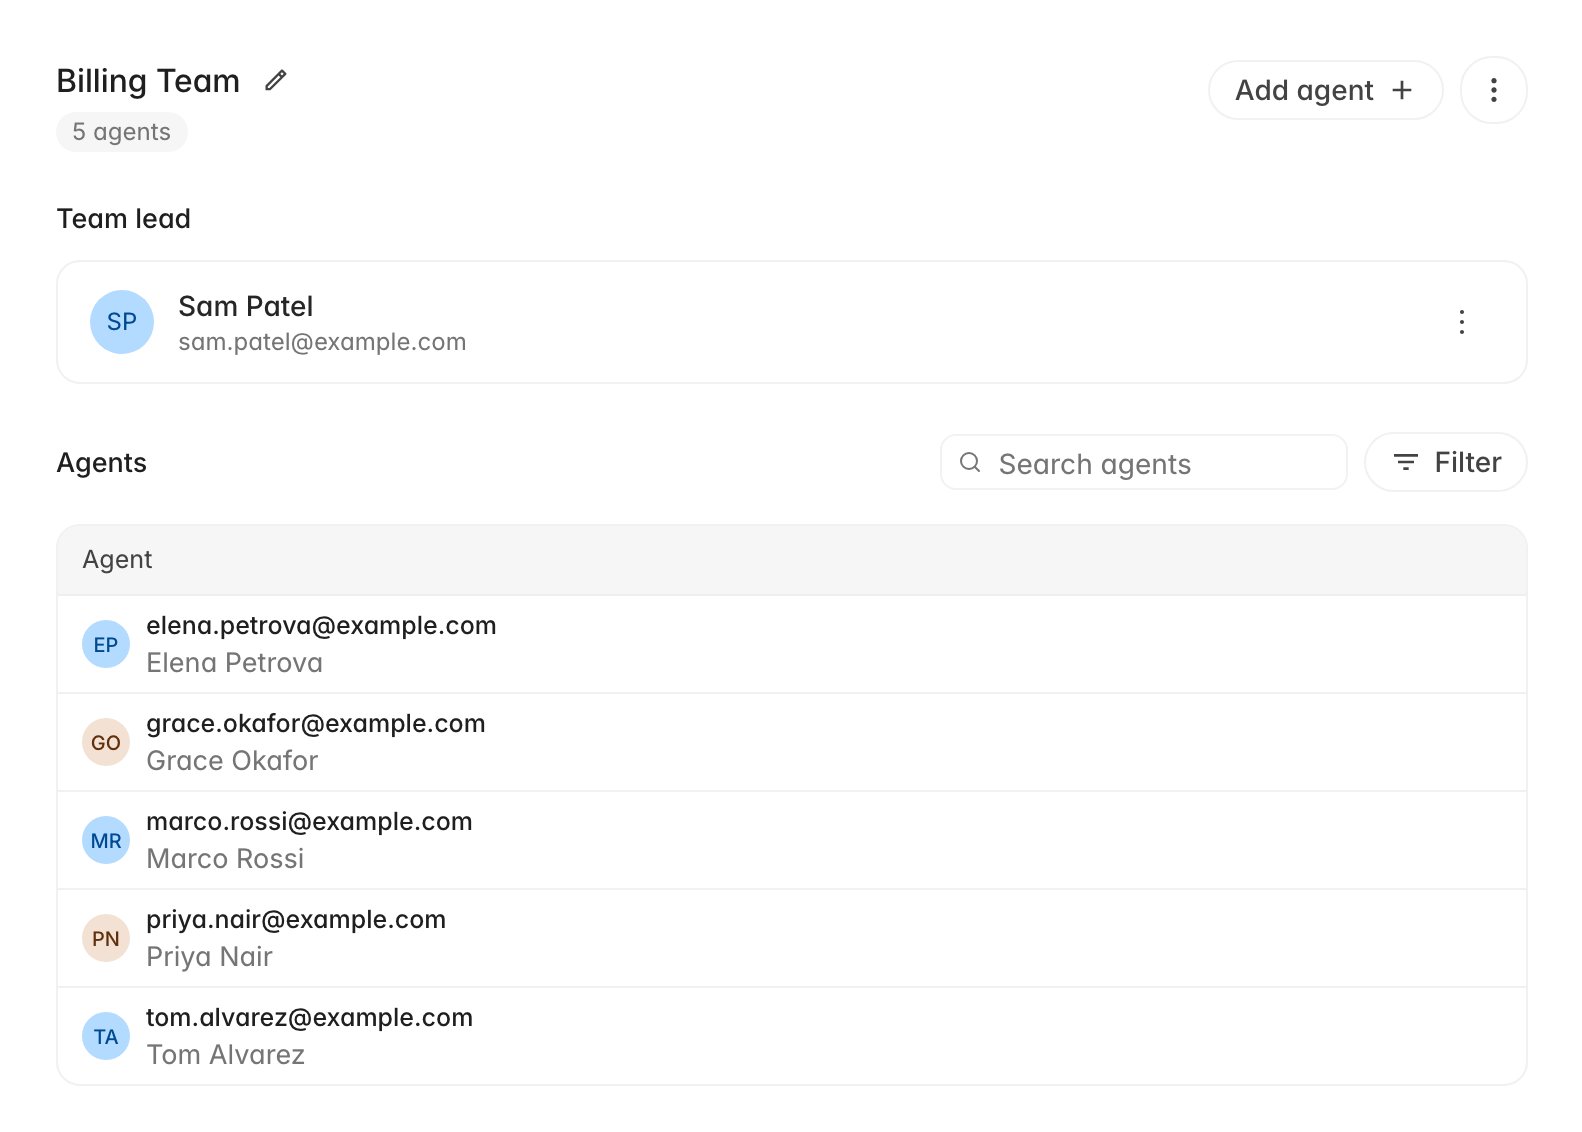
Assign a team lead
On a team with no lead yet, the Team lead section is an “Add team lead / Assign a member to lead this team” prompt. Click it, search for a member by name, and select them. The lead then shows with their name and email, as in the image above, and the overflow menu on their row offers Change team lead and Remove team lead. The lead must be a member of the same organization. Once set, they travel with the team into QA evaluation exports, so the export can show who was responsible for each evaluated agent.Add agents
Click Add agent at the top of the detail page. A search dropdown appears listing agents who aren’t already on this team. Select one and they join immediately. For larger moves, use Import from CSV in the overflow menu (the three-dot icon next to Add agent). The CSV needs a singleemail column, and
Download template in the dialog gives you a correctly formatted starting
file. Rulebase matches each row to an existing agent; any email it cannot match
comes back as a row-level error such as No agent found with email …, and the
rest of the file still imports.
Assigning an agent to a team also marks them evaluable, which puts them into
future QA evaluations and performance reports. If you are adding someone who
should not yet be scored, adjust them on the
Agents page after the import.
Remove agents and rename the team
Each agent row in the Agents table has an overflow menu with a Remove option. Removing an agent takes them off the team but does not deactivate them; they remain in Rulebase and can be added to another team. To rename the team, click the pencil icon next to the team name in the header. To delete the team entirely, open the overflow menu next to Add agent and choose Delete team. Deleting a team does not delete its agents. They are left without a team until you assign them to another one.How teams appear elsewhere
Once a team has agents, the grouping shows up across the product:
An agent left on the wrong team lands in the wrong export rows and the wrong
performance view, so re-check membership whenever your org structure shifts.